Cloning and Forking a Repository
Contents
Cloning and Forking a Repository
Overview:
Forking a repository
Cloning a repository
Prerequisites
Concepts |
Importance |
Notes |
|---|---|---|
Necessary |
GitHub user account required |
|
Command-line shell |
Helpful |
None |
Time to learn: 15 minutes
Forking a repository
Forking is essentially making a copy of a Github Repo! Scenarios where forking a repo is indicated include the following:
You wish to collaborate on projects that are hosted on GitHub, but you are not one of that project’s maintainers (i.e., you do not have write permissions on it).
You wish to experiment with changing or adding new features to a project, and do not immediately intend to merge them into the original project’s repo (aka, the base repository).
In a fork, you first create a copy of an existing repository, but store it in your own personal GitHub organization (recall that when you create a GitHub account, the organization name is your GitHub user ID).
Let’s say we intend to make some changes to the Aerosol-Mentors-Processing-Routines Repo repo, that ultimately we’ll submit to the original repository as a Pull request.
Note
Be sure you have logged into GitHub at this time!
Notice at the top right of the screen, there is a Fork button:

Click on it! You should see your GitHub user id (if you administer any other GitHub organizations, you will see them as well). Click on your user id to complete the fork.

After a few seconds, your browser will be redirected to the forked repo, now residing in your personal GitHub organization!
Notice that the Fork button on the upper right has incremented by one, and there is also is a line relating your fork to the original repo:

You now have a copy (essentially a clone) of the forked repository, which is now owned by you.
You could, at this point, select one of the files in the repository and use GitHub’s built-in editor to make changes to these text-based files. But the typical use case that leverages the collaborative power of GitHub and its command-line cousin, git, involves cloning your forked copy of the repo to your local computer, where you can then perform your edits, and (in the case of software) test them on your system.
Cloning a Repository
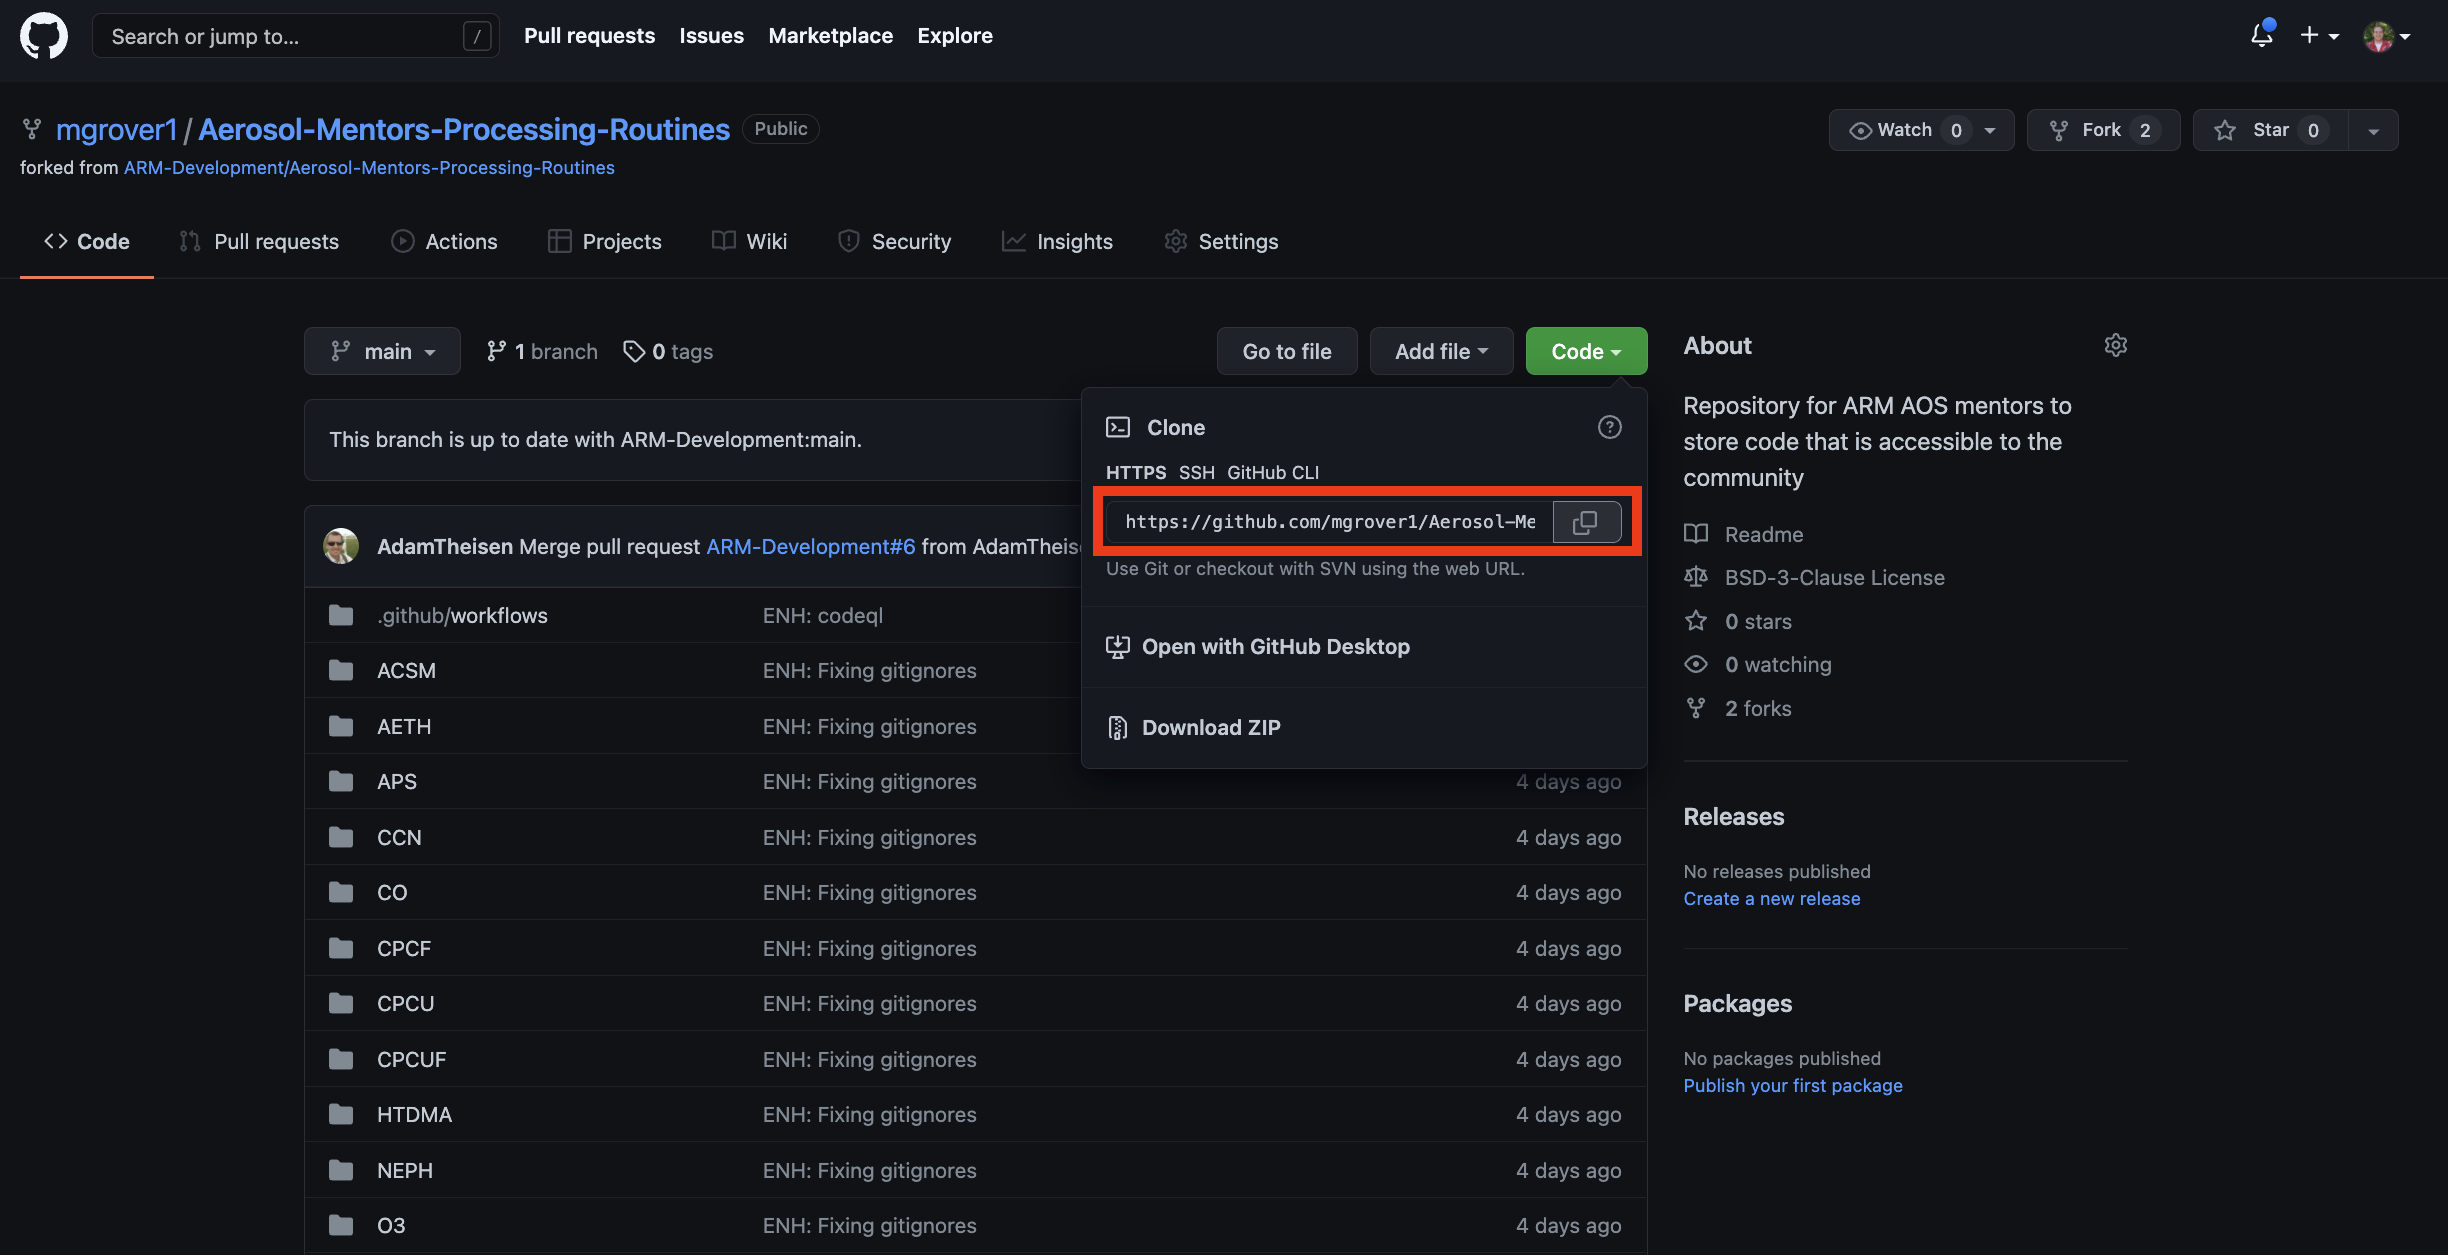
Now, open up a terminal on your local computer, and if desired, cd into a directory that you’d like to house whatever repos you clone. Type git clone, and then paste in the URL that you copied from GitHub (i.e., the origin):
Then within your termainal, run:
git clone <url>
In my case, that would look like:
git clone https://github.com/mgrover1/Aerosol-Mentors-Processing-Routines.git
Make sure you use your fork of the repository here!
You’ll see something like the following:
Cloning into 'Aerosol-Mentors-Processing-Routines'...
remote: Enumerating objects: 47, done.
remote: Counting objects: 100% (47/47), done.
remote: Compressing objects: 100% (33/33), done.
remote: Total 47 (delta 12), reused 33 (delta 6), pack-reused 0
Unpacking objects: 100% (47/47), done.
Windows users
While git is typically part of a Linux or Mac OS command-line shell, similar functionality must be installed if you are running Windows. Download and install the Git for Windows package. This should have been completed within the Introduction.
Now, you can cd into the Aerosol-Mentors-Processing-Routines directory which has been created and populated with the exact contents of the origin’s repository at the time you cloned it.
For example,
cd Aerosol-Mentors-Processing-Routines
We can investigate what it is in here by calling ls, or the Windows equivalent!
ls

ACSM		APS		CO		CPCU		HTDMA		NEPH		OPC		README.md	SO2		UHSAS
AETH		CCN		CPCF		CPCUF		LICENSE		O3		PSAP		SMPS		SP2
By virtue of cloning the repo, git automatically sets the URL of the origin’s repository on GitHub. You can show this by typing the following:
git remote -v
You should see:
origin	https://github.com/<username>/Aerosol-Mentors-Processing-Routines.git (fetch)
origin	https://github.com/<username>/Aerosol-Mentors-Processing-Routines.git (push)
Tip
This link points to where the repository “lives” on GitHub. We will use the term origin to refer to this location.
Congratulations!! You have now forked and cloned a GitHub repository!
Summary
Forking a repository also makes a copy of a GitHub repo, but places it in your GitHub organization.
The process of making a copy of a GitHub repository is called cloning.
Forking allows you to modify a repo, without affecting the original version.